
Steam Engine - Work in Progress

Having chosen a suitable reference photo it's important to decide what to include and exclude. In this instance I've decided to exclude everything except the engine. The dull structures behind the engine serve only to camouflage the main subject and bring nothing to the scene.
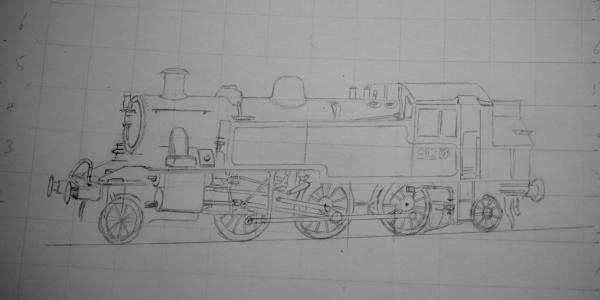
As is often the case when accurate detail is involved in a picture, I drew a suitably sized grid. This provides valuable guidance in getting size, shape and proportions as correct as possible. With the grid in place, a fairly detailed outline was drawn incorporating most, but not all, of the features of the engine.
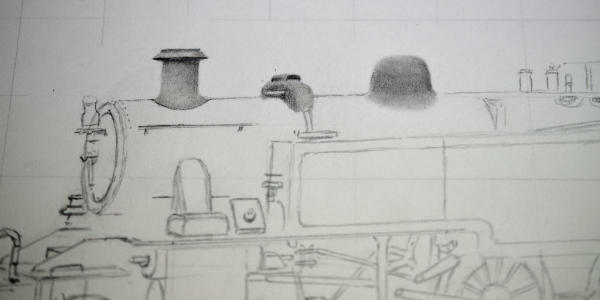
From here on it is a case of working across the drawing, from left to right and top to bottom, starting top left and finishing bottom right. Obviously this is to avoid smudging the work with the drawing hand, which is also resting on a sheet of clean paper.
As I draw each element I make an attempt to get the shading and blending as good as I can even though I know I'll be going over everything again later.
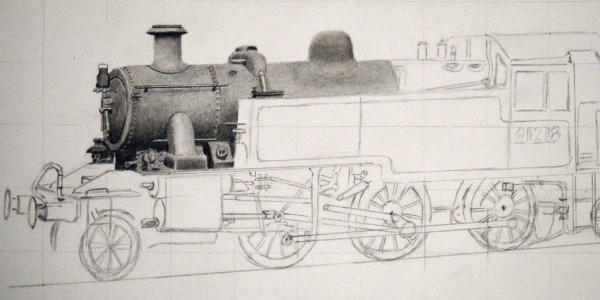
This is an exciting stage as the 'flat' drawing begins to take on shape and form. Some of the dark shadows on the bottom of the main tank aren't yet dark enough but this really needs to be viewed as a whole when the drawing is nearing completion.

The numbers on the side of the cab where achieved by simply shading round them. I have left out a logo on the side of the tank and many fine details such as rivets and bolt heads as they will only make it harder to shade over this area again if I feel it needs it later.
The undercarriage is where the real detail is, and it's also where the darks are darkest. Each item is individually drawn and blended before moving onto the next. I am deliberatly leaving the front wheels very sketchy as I intend to create a lot of steam in this area and only want the slightest hint of the wheels to be visible.

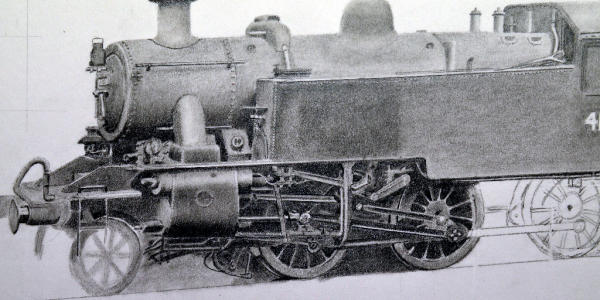
Finally the 'First Pass' of shading and blending is complete and we have an almost-finished drawing. Looking at it as a whole I can see areas that need to be darkened and some that need to be lightened. There is detail to add like rivets, bolt heads and steam. So from this point it is a case of re-working over the whole thing again, tweak, shading, blending, and adding detail.
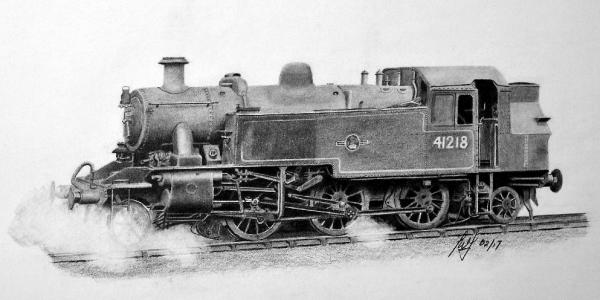
The finished drawing. By comparing this with the previous photo you can see the benefit of the work-over. The engine has greater contrast, greater depth and is generally more refined.
The white line edging the side tank was added by using an eraser. The logo was achieved by erasing it's shape and then drawing in the detail. The steam was produced by 'scribbling' some shading using the edge of a pencil and then rolling over the area with a small ball of Blu-Tack.
